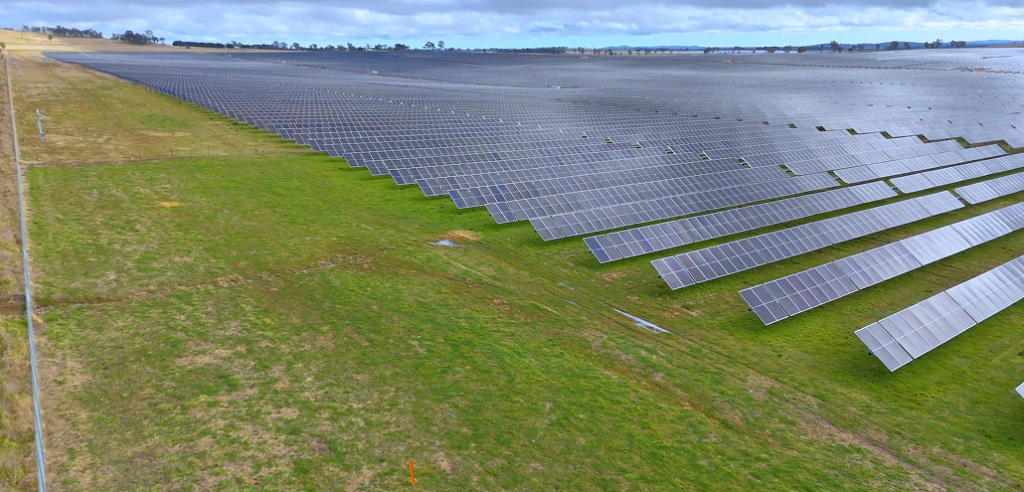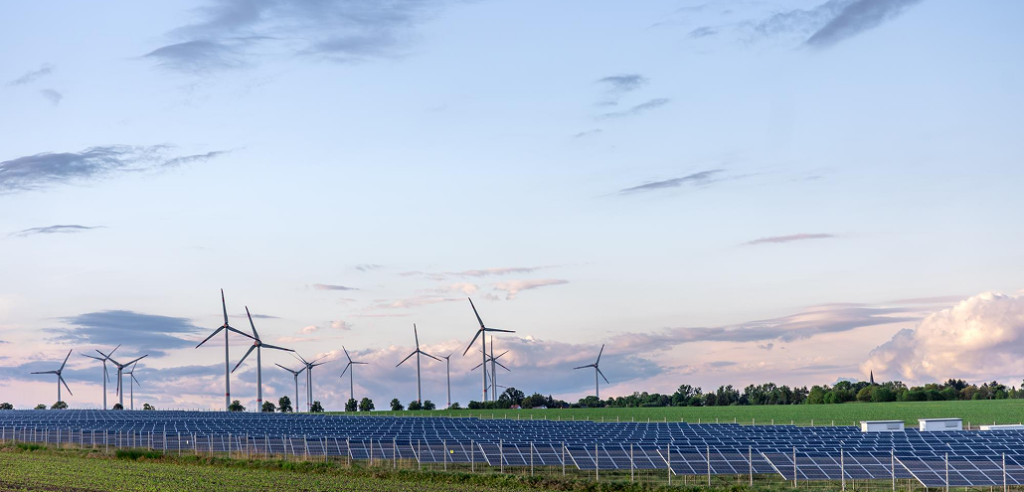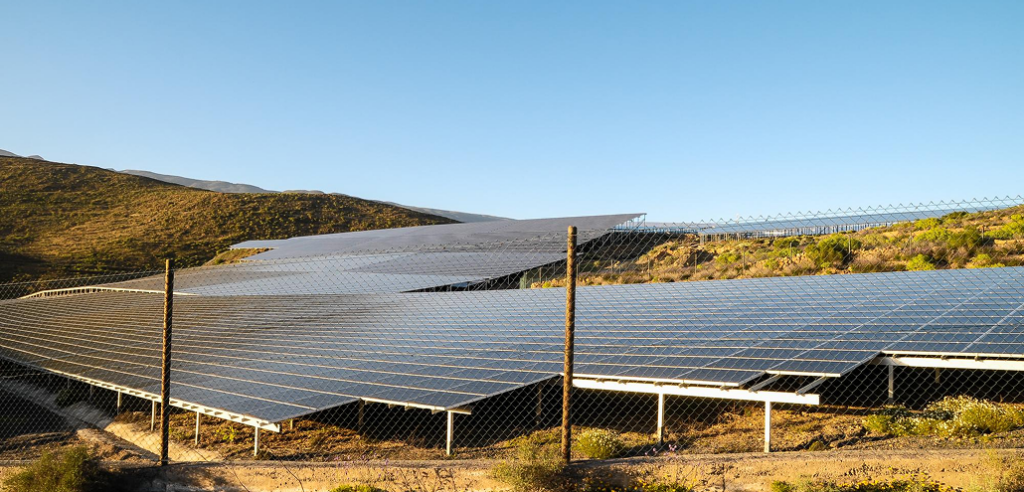
A ground mount solar racking system is the structural skeleton that holds a solar array off the ground, sets the panel angle, and transfers wind, dead, snow, and seismic loads safely into the earth. Get the racking right and the whole project benefits, faster installs, fewer call-back jobs, easier maintenance, and a 25-year asset that holds up to New Zealand conditions. Get it wrong and you’re rebuilding within a decade.
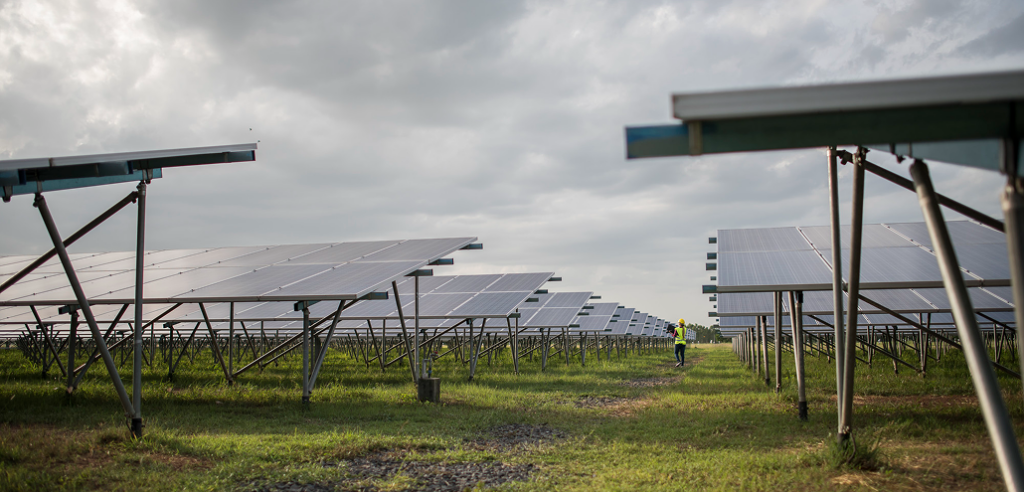
Most installers know this in the abstract. What separates a confident quote from a guess is understanding exactly how the components fit together, which design choices actually matter, and what to look for when comparing systems on a spec sheet.
This guide walks through the anatomy of a modern ground mount racking system, the features that make a difference on real installs, and the technical specifications installers should evaluate when choosing a supplier for the New Zealand market.
Key takeaway
- Ground mount solar racking systems are built from five core components: foundations, upright supports, the railing system, module clamps, and rear brace supports.
- Foundation choice (concrete ballast vs ground screws) is the single biggest decision and is driven by soil conditions, project scale, and install timeline.
- Material selection matters enormously in New Zealand conditions. Zinc Aluminium Magnesium (ZAM) coated steel offers significantly better corrosion resistance than standard hot-dip galvanised steel.
- Five features separate good racking from cheap racking: pre-fabrication, clamp simplicity, tilt adjustability, foundation flexibility, and engineering support.
- New Zealand racking must comply with AS/NZS 1170.2 (wind), NZS 1170.5 (seismic), AS/NZS 1170.3 (snow), AS/NZS 5033 (PV array safety), and AS/NZS 3000 (electrical work).
- Quality racking pays back through faster installs, fewer call-back jobs, and longer asset life, not just lower sticker price.
The five components of a ground mount racking system
Every ground mount racking system, regardless of brand, is built from the same five functional components. Understanding what each one does is the first step to evaluating any specific product.
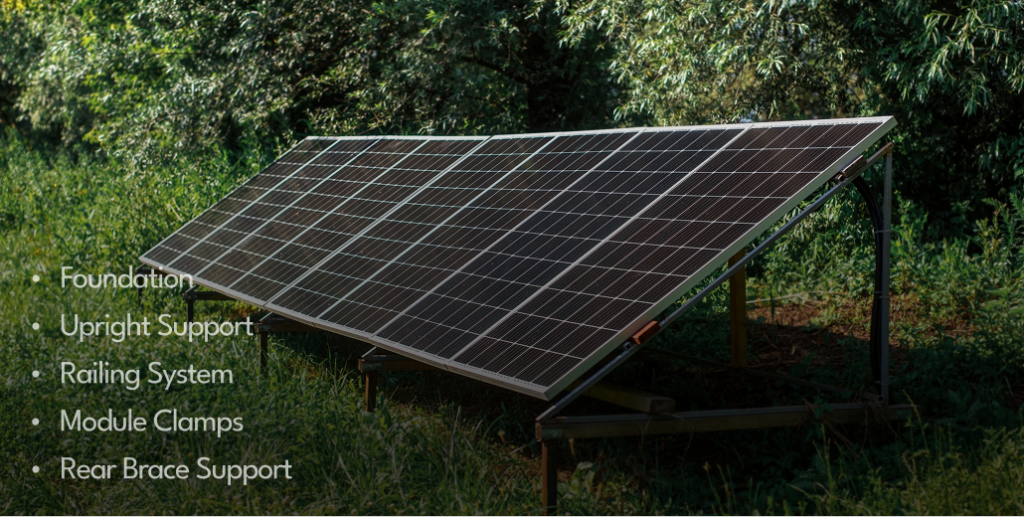
1. Foundation
The foundation transfers all structural loads (wind, dead load, snow, seismic) from the array into the ground. Two foundation types dominate the New Zealand market: concrete ballast footings and ground screws. The choice between them is dictated by soil conditions, project scale, and how quickly the project needs to be installed. Quality racking systems support both foundation types as standard, making them adaptable to virtually any soil condition. A structural engineer’s sign-off under AS/NZS 1170.2 (wind) and NZS 1170.5 (earthquake) is required for either foundation type.
2. Upright support
The upright support is the structural backbone that carries the array load and sets the height of the panels above the ground. Quality upright supports use a base plate plus a minimal number of structural beams (the Nova Ground Mount System uses just three), with pre-fabricated holes for fast assembly and tilt angle adjustment. Fewer components and pre-drilled holes mean faster on-site assembly and lower risk of installation errors.
3. Railing system
The railing system carries the solar modules and transfers their weight through the structure. It typically consists of C-rails (the horizontal members that span across the upright supports) and rail joiners (used to connect rail sections together for longer arrays). Rail design has a direct impact on install speed, the difference between a single-bolt rail clamp and a multi-bolt fixing system can save hours per kilowatt. Quality systems use stainless steel hardware throughout for corrosion resistance in New Zealand coastal and humid conditions.
4. Module clamps
Module clamps secure each solar panel to the rails. They come in two types: mid-clamps (between adjacent panels) and end-clamps (at the row ends). The best module clamps include integrated earthing pins, which automatically bond the panel frame to the racking and eliminate the need for separate earthing straps. On a commercial-scale project this can save hours of skilled electrical labour and reduce the number of failure points in the array.
5. Rear brace support
The rear brace transfers wind uplift loads through the structure and into the foundations. It’s the component that prevents the array from tipping backward in high winds. In New Zealand, the rear brace also has to handle dynamic loads from seismic events, which is one of the reasons engineering certification under both AS/NZS 1170.2 and NZS 1170.5 matters for the racking system as a whole. Quality rear braces use adjustable connections (typically elongated holes or sliding mounts) to fine-tune the tilt angle on site without custom fabrication. Some systems also offer optional brace extenders for taller installations or steeper tilt angles, which adds flexibility without requiring custom engineering.
Across all five components, AS/NZS 5033 governs the safety requirements for installation, including earthing, cable management, and access. The standard requires that all metallic components be properly bonded and that connections meet engineered torque specifications.
Foundation choice is the single biggest design decision
Of all five components, foundation choice has the biggest impact on install timeline, total cost, and what kinds of sites the system can work on. The two options each suit different conditions.
| Factor | Concrete ballast footings | Ground screws |
|---|---|---|
| Installation time | Days (excavation, pour, 7–14 day cure) | Minutes per pile, immediate load-bearing |
| Suitable soil types | Almost any soil including rocky and unstable ground | Stable soils (clay, compacted earth, sandy loam); not suited to rocky ground, peat, or very loose soil |
| Equipment required | Excavator, concrete delivery, formwork | Hydraulic pile driver or auger attachment |
| Site disturbance | Significant excavation and concrete footprint | Minimal, displaces soil rather than removing it |
| Decommissioning | Expensive concrete removal | Unscrew and remove, land returns to original state |
| Best fit for | Difficult soil, sites where ground screws can’t penetrate, projects where permanence is preferred | Commercial and utility-scale projects on stable soil where install speed matters |
Ground screws have become increasingly common across New Zealand commercial and utility-scale projects because of the install speed advantage. Concrete needs to cure for 7–14 days before structural loading can be applied, which adds weeks to a large project timeline. Ground screws are load-bearing the moment they’re installed, which is why developers paying interest on construction loans tend to favour them where soil conditions allow.
That said, ground screws aren’t universal. Rocky South Island terrain, shallow bedrock, very loose sandy soil, peat in low-lying areas, and high water table sites all cause problems for ground screws. On those sites, concrete remains the right answer. A good racking supplier offers both foundation types as standard, so installers can quote the right solution for each site without changing suppliers mid-project.
Nova’s field notes: get the soil and seismic report before locking in the foundation type
In our experience, the single most common reason a ground mount project gets rescoped mid-build isn’t materials or labour. It’s a soil surprise that forces a foundation type change. A site that looked perfect on satellite imagery turns out to have shallow bedrock, or a rocky layer 600 mm down, or unexpectedly high water table. Suddenly the ground screws that were specified can’t be driven, and the project needs concrete instead, or vice versa.
In New Zealand, the geotechnical report also needs to capture seismic site classification (A through E under NZS 1170.5), which directly influences the structural design of the foundations. Always get the geotechnical and seismic site assessment before finalising the quote and selecting the foundation. On commercial projects, build the cost of the geotech survey into the proposal as a line item if needed. It’s the cheapest insurance you can buy against scope changes.
Material durability and corrosion resistance
New Zealand conditions are unusually harsh on solar racking structures. Most of the population lives within reach of coastal salt air, humid conditions cycle through 25-year asset lives, and South Island alpine zones face UV, freeze-thaw, and snow loading that accelerate material degradation.
The material decision splits across three options for the structural components.
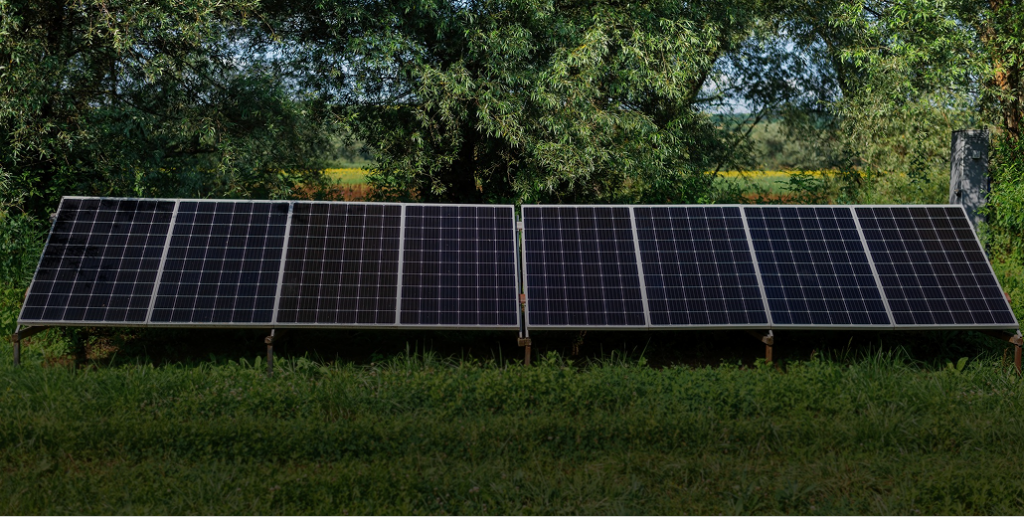
Standard hot-dip galvanised steel
Cheapest upfront. Hot-dip galvanising provides a zinc coating that protects steel through sacrificial corrosion. It works well in mild inland environments but degrades faster in humid, coastal, or chloride-rich conditions. Peer-reviewed corrosion research shows that galvanised coatings degrade significantly faster than zinc-aluminium-magnesium alternatives in chloride-rich environments, which includes most of coastal New Zealand.
Zinc Aluminium Magnesium (ZAM) coated steel
ZAM coatings combine zinc with aluminium and magnesium to create a self-healing protective layer. Published corrosion testing shows ZAM coatings deliver significantly better corrosion resistance than traditional zinc galvanising in salt-spray and humid conditions, with the magnesium component forming a dense protective film that resists chloride attack. Independent review by the Steel Construction Institute has confirmed that ZAM coatings (such as Magnelis ZM310) provide corrosion protection at least equivalent to much heavier traditional zinc coatings, including at cut edges and perforations where standard galvanised steel often fails first.
Aluminium alloys
Aluminium 6005-T5 and similar marine-grade alloys resist corrosion naturally without coatings. They weigh less than steel for handling and transport, but typically cost more per structural member. Aluminium is the default choice for rooftop racking but is less common in large ground mount projects where steel’s structural strength and lower cost per load capacity make it the more economical option.
For ground mount projects in higher-risk environments (coastal sites, exposed wind zones, sites with high humidity or alpine snow loading), our guide to the best solar ground mount system for New Zealand high-wind conditions covers the specifications that matter most.
Five features that separate quality racking from cheap racking
Spec sheets don’t tell the whole story. Five features have an outsized impact on install speed, reliability, and 25-year asset performance, but they’re often hidden behind technical jargon.
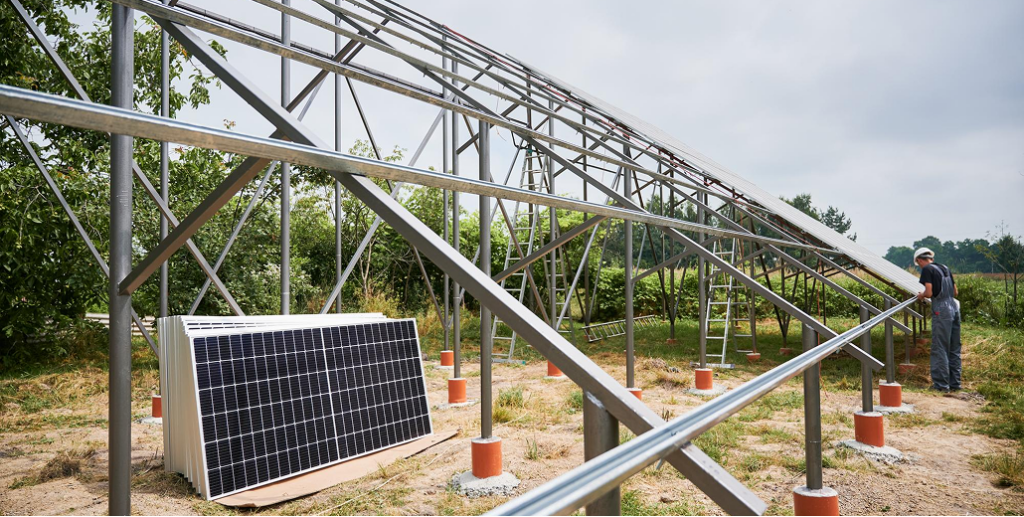
1. Pre-fabrication and labelled components
Pre-drilled holes, factory-cut rail lengths, and clearly labelled components dramatically reduce on-site time and the risk of installation errors. A racking system that arrives ready to bolt together (rather than requiring on-site drilling and measuring) can shave 20–30% off install time per kilowatt for typical residential and commercial projects. In New Zealand, where skilled installer labour is in short supply, this efficiency translates directly into more projects completed per year.
2. Single-bolt clamp simplicity
The number of bolts per connection point compounds across a project. A 100 kW commercial install might have thousands of connection points. A racking system that uses a single-bolt rail clamp instead of a multi-bolt connection can save hours of crew time over the project. Single-bolt designs also reduce the risk of incorrect torque application, which is a common cause of long-term connection failure.
3. Tilt adjustability
New Zealand spans from latitude 34° in the Far North to 47° in Stewart Island. The optimal tilt for a north-facing array varies significantly across that range, from around 30° in Auckland and the upper North Island to 40° or steeper in southern Otago and Southland. A racking system with wide tilt adjustability (such as the Nova Ground Mount System’s 5° to 60° range) lets installers optimise for each site without changing products or ordering custom hardware.
4. Foundation flexibility
Soil conditions vary enormously across New Zealand sites, volcanic soils through much of the central North Island, rocky terrain in the South Island, expansive clays in some North Island regions, and peat or alluvial soils in low-lying areas. A racking system that supports both concrete ballast footings and ground screw foundations as standard lets the installer quote whichever foundation suits the site, without switching suppliers or product lines mid-project. This matters more than installers often realise, the difference between winning and losing a quote can come down to whether the installer can offer the right foundation type from the start.
5. Engineering and technical support
Ground mount racking projects involve more variables than rooftop, soil reports, structural calculations, wind region certification, seismic site classification, foundation specifications, AS/NZS compliance. A racking supplier with a responsive engineering and technical support team reduces the risk of costly rework, helps installers navigate complex sites, and saves time at every stage from quoting to commissioning. This is the feature that doesn’t appear on a spec sheet but pays back the most in real-world installer margins.
Compliance and standards for New Zealand ground mount racking
Every ground mount racking system installed in New Zealand needs to comply with several joint Australian/New Zealand and NZ-specific standards. These aren’t optional, they’re prerequisites for insurance coverage, council consent, and Electricity (Safety) Regulations compliance.
Structural design under AS/NZS 1170.2 and NZS 1170.5
Wind loading on the racking structure is governed by AS/NZS 1170.2:2021. The standard divides New Zealand into wind zones from Low through Extra High, with exposed coastal sites and elevated terrain (such as the Wellington region) typically pushing into the higher zones. Seismic actions are governed by NZS 1170.5, which is the New Zealand-specific earthquake design standard. The racking supplier must provide engineering documentation that certifies the system for the specific wind zone, terrain category, and seismic site classification of the install site.
Snow loading under AS/NZS 1170.3
For ground mount projects in alpine zones, the central South Island, and elevated parts of the central North Island, snow loading is governed by AS/NZS 1170.3:2003. Above 400 metres elevation in the South Island, snow loads can become a primary structural consideration. The racking design must accommodate the additional vertical loading without exceeding member capacity, and the tilt angle should be selected to encourage snow shedding where snow accumulation is expected.
Installation safety under AS/NZS 5033
PV array installation safety, including earthing, cable management, and access requirements, is governed by AS/NZS 5033:2021. Notably, the 2021 update introduced restricted access requirements for ground mount arrays, freestanding PV systems less than 2.5 metres from the ground must be enclosed to prevent unauthorised access. This affects how the racking and surrounding infrastructure must be designed.
Electrical work under AS/NZS 3000
The Australian/New Zealand Wiring Rules govern all DC and AC electrical work associated with the array, including the bonding of metallic racking components. All electrical work must be performed by a registered electrician under the Electricity (Safety) Regulations 2010, regardless of how the structural racking work is completed.
Nova’s field notes: never quote a high-wind or alpine site without manufacturer engineering documentation
One of the most common ways racking projects go wrong in higher-wind zones (Very High and Extra High under AS/NZS 1170.2, common in Wellington and exposed coastal sites) isn’t structural failure on site, it’s a council or insurance rejection because the installer can’t produce engineering documentation that certifies the specific racking system for the specific wind zone.
Reputable racking suppliers provide engineering tables, certification letters, or design calculators that confirm AS/NZS 1170.2 compliance for the system, and where relevant, NZS 1170.5 seismic compliance and AS/NZS 1170.3 snow load compliance for alpine projects. If a supplier can’t provide this documentation for the specific site conditions, don’t quote the project on their system. The certification gap will cost you more than the savings on the racking.
How quality racking pays back on installer margin
The temptation to quote the cheapest racking system is real, especially when margins on solar projects are tight. But the lifetime cost of cheap racking is almost always higher than the upfront saving, and installers wear that cost in three ways.
Call-back jobs eat profit
Cheap racking systems fail in predictable ways: corrosion at cut edges and bolt holes, loosening of multi-bolt connections under wind and seismic cycling, brittle aluminium under UV, and broken earthing connections. Every call-back to repair or replace a failed component costs labour, transport, and reputation. A racking system that holds up for 25 years is the cheapest insurance against this.
Slow installs cost margin per kilowatt
On a per-kilowatt basis, install labour is one of the biggest cost components. A racking system that installs 20–30% faster than alternatives directly improves installer margin. For installers running multiple jobs per quarter, the time savings translate into either more projects completed or lower labour cost per project. In the New Zealand market, where skilled installer labour is harder to scale than in larger countries, this advantage compounds significantly.
Compliance documentation protects warranty claims
Insurance disputes after a wind or seismic event almost always come down to whether the racking was installed and certified in accordance with manufacturer specifications and AS/NZS standards. A racking supplier that provides complete engineering documentation, installation guides, and clear torque specifications protects the installer from disputed warranty claims later.
For a detailed breakdown of the cost economics across different ground mount project scales, see our guide to commercial ground mount solar cost for installers.
Build smarter ground mount projects with Nova
At Nova, we’ve spent more than 15 years designing solar mounting systems that make installers’ lives easier and customers’ projects more reliable. The Nova Ground Mount System is built around our “less is more” philosophy: fewer components, single-bolt rail clamps, module clamps with integrated earthing pins, and pre-fabricated holes for tilt adjustment from 5° to 60°. It supports module sizes up to 2190 x 1150mm in portrait orientation, both ground screw and concrete ballast foundations, and comes in Zinc Aluminium Magnesium coated steel for superior corrosion resistance. The system is snow load rated, structural stability tested, and corrosion resistance tested. It installs up to 30% faster than traditional ground mount systems, is backed by a 25-year warranty, and is supported by a technical team that works with you from soil report to commissioning.
Whether you’re quoting a 5 kW residential ground mount or scoping a 500 kW commercial array, speak to the Nova technical team for project-specific support, or explore the NOVA Ground Mount System specifications in detail.
Frequently asked questions
How long does ground mount racking installation take?
On-site racking assembly for a residential 5–10 kW ground mount install typically takes 2–3 days with concrete foundations or 1–2 days with ground screws (excluding foundation curing time). Commercial 100 kW installs typically take 1–3 weeks for the full racking and panel install, depending on site conditions and foundation type. Larger projects benefit significantly from racking systems with pre-fabricated components and single-bolt connections.
Can I mix racking components from different manufacturers?
No. The engineering certification for a racking system applies to the system as a whole, with the manufacturer’s specified components, hardware, and torque specifications. Mixing components voids the engineering certification, voids warranties, and creates insurance and compliance risk. If a project requires modifications, work directly with the racking manufacturer for engineering sign-off.
What’s the difference between a ground mount racking system and a ground mount solar mounting kit?
They’re the same thing, marketed differently. Smaller residential and DIY suppliers tend to use the term “solar ground mount kit” or “solar panel ground mounting kit” for pre-packaged systems suited to small arrays. Commercial and utility-scale suppliers tend to use “ground mount racking system” for engineered solutions that scale from residential to megawatt projects. The underlying components and engineering principles are the same.
Do ground mount racking systems need maintenance?
Quality racking systems require minimal maintenance: visual inspection annually, torque checks on critical connections every few years, and clearing vegetation or debris from around foundations. In seismically active regions, an additional structural inspection is recommended after any significant earthquake event. The biggest maintenance risk is corrosion at cut edges and connection points, which is why ZAM-coated steel and stainless steel hardware are worth the upfront premium in New Zealand conditions.
Does Nova offer a ground mount solar mounting kit for residential projects?
Yes. The Nova Ground Mount System scales from small residential installs up to megawatt-scale commercial projects using the same engineered components. The system supports module sizes up to 2190 x 1150mm in portrait orientation, accommodating most commercial and residential panel formats on the market. The same single-bolt rail clamps, module clamps with integrated earthing pins, and adjustable tilt design are used across all project sizes, which simplifies inventory and training for installers working across multiple project scales.